How to mix a live band
Sound mixing for musicians made easy – Make your gigs sound awesome
We giggers love to play live, it’s in our blood, right? But what about the sound check, the whole mixing process, and everything about it? All of us know how it feels like when you can’t get rid of the feedback from the main vocal’s mic, the kick sounds like cardboard, or the monitoring just sucks but you’ve started playing and can’t change a lot. How to mix a live band is not as hard as it sounds. I am not a professional sound engineer, but I act as one for my band when we play gigs with our own PA. After hundreds of gigs, I guess you have to learn something about mixing the band.
This is my take on basic mixing for a live band or solo act. I am sure these live mixing tips will be a great guideline for beginners and a useful reminder for professionals. As a musician, you learn something new all your life. The same goes with sound mixing, you don’t have to know everything to achieve a very good sound, but learning new skills and techniques will make your band and your audience truly enjoy the show.
What is a live mix?
Think of it like this, the live mix is like a painting where different sounds (groups of frequencies) that instruments produce represent colors. Some instruments like the kick drum, snare, and main vocal are some of the ones that we perceive more than others. In that painting, we should see what lies in the center, and what goes left and right. How to make this happen in this live picture of sound is what we are talking about here.
The importance of a good mix?
When the band has a good mix, all the vocals and instruments will have their own place and individual features that contribute to the sound picture. To achieve this balance we need to carefully listen and pay attention to what’s going on while doing the mix.
A good mix is essential for a successful performance.
Essential elements for live sound mixing
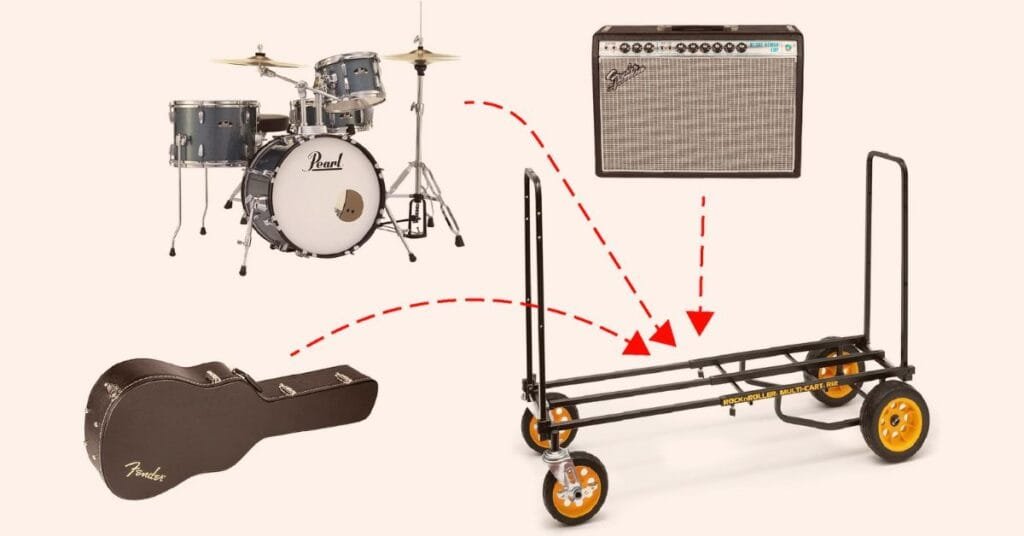
If you are just starting to gig and you want to mix your band, before doing anything serious like mixing a real concert, you should familiarize yourself with the essential equipment you need for that task. Mixing setups, and band setups, of course, may vary in size and types of devices included. These are the common components for a standard mixing setup.
Mixer (also known as soundboard or mixing console)
This is the heart of the live sound setup. Every sound source is plugged into it: microphones, instruments, DJ, background music, and whatever additional sound source we have. The mixers’ role is to mix and process all the inputs, and then combine and route them to the main outputs that are essential for our gig: the FOH, monitors, headphones, and so on.
Monitors
Monitors are speakers that are placed on stage, allowing performers to hear themselves and the rest of the band while playing a concert. The number of monitors depends on various factors:
- The loudness of the band – the genre of music it plays
- Number of band members
- Personal preferences

Positioning monitors is very important. They are usually lying on the floor in an angled position so that they aim at the performers’ ears. If they are positioned too close the sound will be muddy and unclear, and if too far – not loud enough to hear.
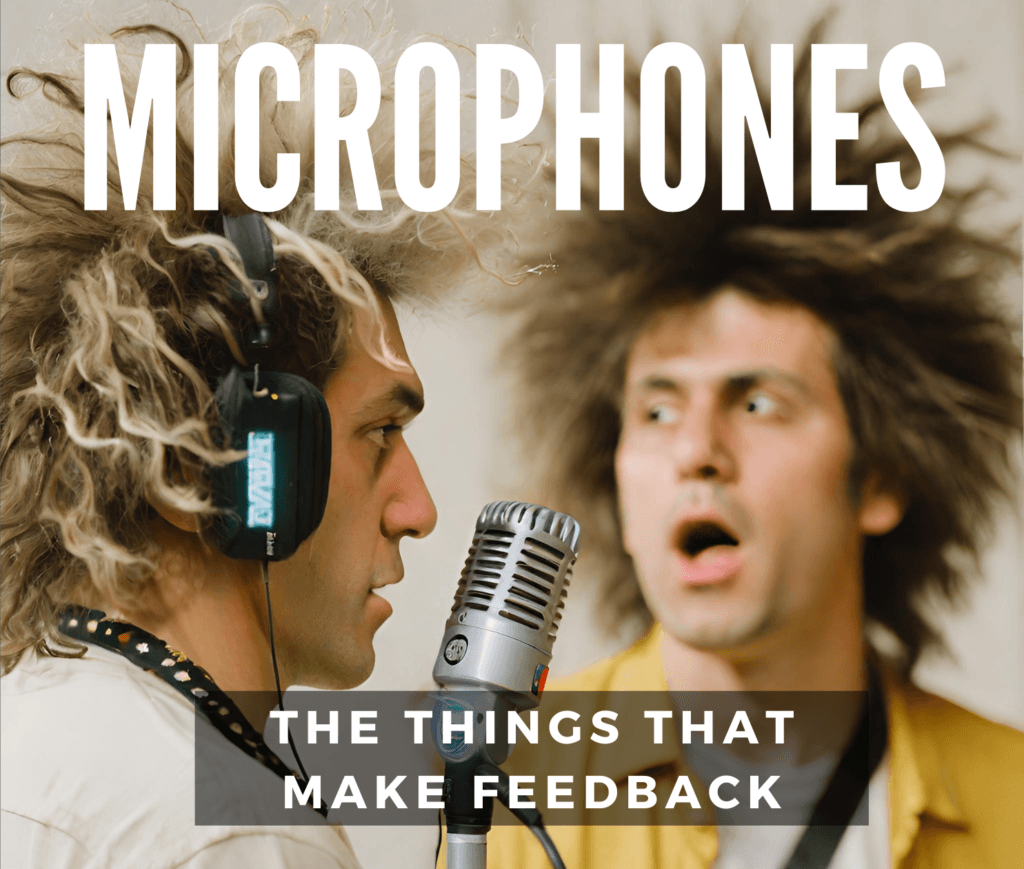
Microphones
Never enough microphones! The sound engineer (you) has to know what microphones to use in advance. Band members that play smaller to medium gigs regularly usually have their own mics with them, or if all band mics are in a special case, they at least place them by themselves where needed. A guitarist will mic the guitar cabinet, the singer places mic on a mic stand, and a drummer will place mics on drum elements.
Get familiar with the basic types of microphones, so that when a mic doesn’t work, you know which type to use. Sometimes you can have an additional band member join you on a gig with an instrument you don’t have in your band such as a sa saxophone or acoustic guitar. The saxophone player maybe doesn’t have a mic, so you need to have a mic like the Sennheiser MD421. Be sure to have at least one small condenser microphone for the possible acoustic guitar player.
Tip: When playing smaller venues, especially indoors, some instruments don’t need to be mic’d. Maybe micing only the kick and a smaller guitar amp will be enough.
Di Boxes
Di boxes are devices that are used to convert unbalanced, high impedance, instrument, or line level signals to a balanced, low impedance, mic level signal.
Electric and acoustic guitars and basses use unbalanced cables which have a shorter distance. These types of cables can pick up interferences and cause distorted sound if they are longer than 10-15 ft. Microphones, on the other hand, use balanced, low-impedance cables that do not pick up interference and can be very long without distorting the sound.
Mixers have inputs that are balanced, which means that all the signals coming to the mixer have to match those balanced inputs. That’s where DI boxes step in. They are usually used for acoustic guitars, bass, and keyboards. DI stands for “direct injection”. There are two types of DI boxes: passive and active (they need a power supply).
Main features of DI boxes:
- Input – receives an unbalanced signal from instruments.
- Output – sends a balanced signal to the mixer, audio interface, or mic preamp.
- Pad – attenuates (lowers) the level of the signal coming into the DI box by -10dB, -20dB,…
- Polarity flip – flips the phase of the signal.
- Ground lift – eliminates humming or buzzing.
- Cabinet simulator – some models have a built-in cabinet simulator which is very handy when used for an electric guitar so that the signal that bypasses the actual guitar speaker is enhanced with a sound that simulates a guitar cabinet speaker.
Good communication with band members is crucial for any gig, especially when mixing. No one wants to see band members arguing during mixing. Just try to keep calm and make sure everyone knows his order and role in the process of mixing.
Main functions of the mixer
- Receiving all sound sources through inputs (channels)
- Processing sound:
- Gain: adjusting the input volume of the amplified signal
- Equalization (EQ-ing): adjusting frequencies so that every signal sounds the best as possible
- Dynamics processing (compressor, limiter, gate,…)
- Effects (reverb, delay,…)
- Volume – controlled with fader
- Grouping and sending channels to output devices
These are the typical elements of a mixer. Not all mixers have dynamics and effects built in. This is something you can find when working with some analog mixers, where dynamics and effects processors are individual units, usually in the form of 19” rack-sized elements. But since this is a place where we talk about easy gigging, we will usually be talking about analog and digital mixers with integrated processors.
Prepare and organize
-Check if every component of the PA is turned on and working properly: The main mixer, the FOH speakers, monitors, and effects.
-Every musician should check their own gear and tune before soundcheck.
-If you are mixing with a digital mixer and tablets, turn them on and check connectivity.
How to mix a live band
Organize channels on the mixer

Determine the order of instruments on your mixer in the best way that suits you. Most people put all the drum inputs first, then bass guitar, rhythm, lead, keys, and vocals. I like to group band members’ channels together:
- main vocal (rhythm guitarist)
- rhythm guitar
- back vocal (lead guitarist)
- lead guitar
- back vocal (bassist)
- bass
- kick
- snare
- toms
- overhead
Write down what is on which channel on masking tape, or if you are using a digital mixer simply apply colors to instrument groups and edit each channel’s name.
Best order of mixing instruments on soundcheck
- kick, snare, overheads – drums are most important to mix in the beginning
- bass
- guitars
- keyboards
- Vocals (main vocal can be mixed after drums)
Kick and bass are the foundation of the sound, so it is good practice to take enough time to mix those two until you are happy with the sound.
Vocals need to be above the rest.
How to mix a live band
Positioning
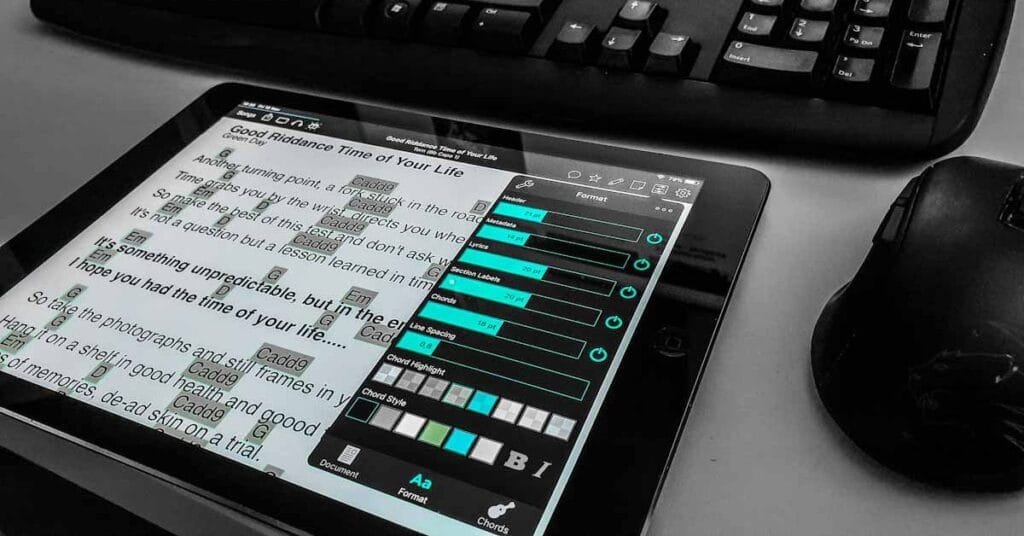
Your positioning during the mixing process is determined by the type of mixer your band is using and by its placement. When using a digital mixer like the Behringer X Air XR18, all the signals are connected to this stagebox-type digital mixer somewhere on stage, while you will want to be somewhere in the middle of the audience area. The best way to do this is with an iPad connected via wifi to a simple router which is connected to the mixer with an ethernet cable. This way you have the freedom and comfort of making all the settings wirelessly.
Tip: Live sound mixing software
Not all apps work flawlessly. Some third-party apps sometimes work better than the mixer’s brand app! Try out different apps to see which works best for you.
When using any type of mixer that is positioned on stage, you will need a band member to listen to the sound from the audience area. Try not to get in a situation where you have to shout in order to communicate with each other. Stay calm under pressure, misunderstandings can lead to some nasty situations, believe me. Some simple sign language will work the best.
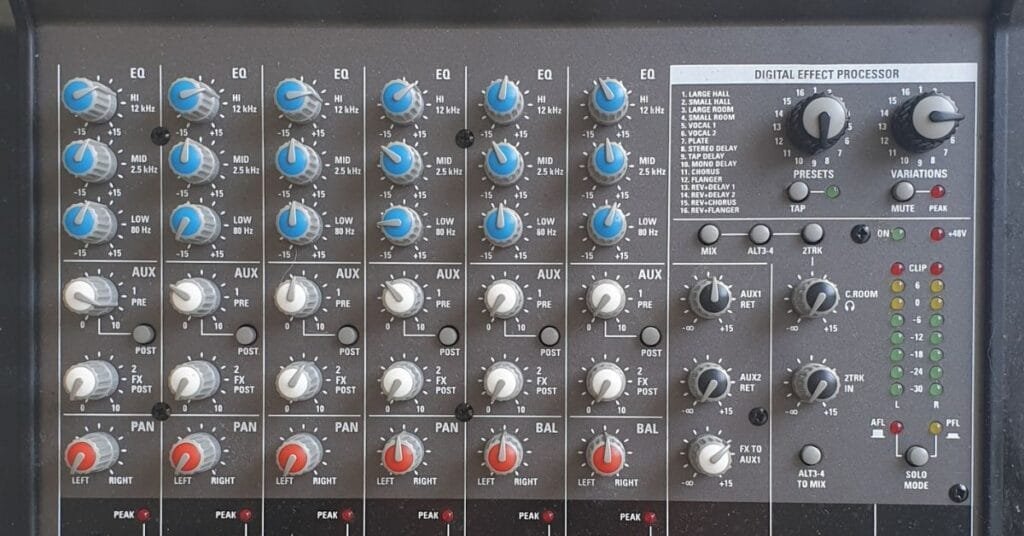
The channel strip explained
The main section of a mixer is the channel strip. Each channel strip is a vertical line of controls that correspond to a single audio input.
Main sections of a channel strip:
- Gain (preamp)
- EQ section
- Dynamics
- Effects
- Auxiliary (Aux) sends
- Panorama
- Fader
Before starting the mix, the best practice is to reset all the controls on EQ to the middle position and close all dynamics and effects.
Gain
Adjust the gain properly! Gain is not the same as volume as many may think. Gain increases the preamp of every channel, which can lead to a distorted sound if adjusted too high. All instruments are sending different levels of signal to the mixer and gain helps us even out those signals so that they are about the same level. While the channel is muted have each instrument play or vocalist sing or talk while you adjust the gain. Stop raising gain when the LEDs on the level meter start reaching the orange ones while the instrument is playing the loudest tones.
Equalization
Next, we move on to equalization which can be very challenging for beginners. This section is responsible for shaping the tonal characteristics of the input signal. There are no hard rules for adjusting the right EQs for an instrument. It all depends on the size of the venue, wall materials, and angles. When playing outdoors, we can have two venues with almost the same stage and surroundings but with one that has big pine trees near the stage. This changes the high-frequency adjustments.
Tip: Generally, cutting unwanted frequencies is more useful than enhancing good ones. When cutting, cut narrow, but when boosting, a wider EQ range is usually very helpful.
Tips for EQ-ing:
Generally, when using EQ, try to cut frequencies that are unwanted or cause feedback before boosting frequencies to enhance specific sounds.
Use the EQ to shape the tonal characteristics of each vocal and instrument
Using high-pass filters will eliminate any unnecessary low frequencies.
Create space for instruments with EQ. Very often, two instruments are producing similar frequencies which causes them to interfere in a certain range of the sound spectrum. Choose which instrument is more important in that situation and carve out that frequency range on the other instrument’s EQ.
Dynamics processing
After you are pleased with the sound of an instrument, move on to adding dynamic processing effects such as:
- Compressor – for drums and vocals (boosts soft signals and reduces the signal of loud parts). Too much compression can result in a lifeless mix.
- Gate – i.e. cuts low-volume signals coming from other instruments that are creating feedback
- Limiter – similar to a compressor but for enhancing a certain sound or to restrain unpredictable effects
Effects
Effects such as reverb, delay, and chorus are used to enhance some instruments so they stand out. Try not to overdo with effects, it will surely spoil the overall sound. Reverb is the most important effect. Effects and dynamics processing are used not only for individual instruments and vocals but also for the main sound coming out of the PA.
Monitoring
Sends (AUX) are used to assign the signal from the channel to a specific bus or buses which are usually monitors and external effects processors. That way band members get to hear desired instruments at a desired volume through their personal monitor.
Monitoring on stage is crucial for a great show. FOH is one thing, but monitoring on stage is another. When everyone hears clearly what they need at desired volumes the band will play in a no-stress way and play a better gig. The band shouldn’t be too loud on stage. Everyone in the band should hear every instrument at relative volumes similar to when listening to music. If the guitarist wants to hear the guitar at a higher volume than what’s coming out of the amp, compensate by adding more guitar volume to the guitarist’s monitor. There is no need to place too much of the drums in the monitor unless you are playing an outdoor gig. Some kick is OK for the bass player. Accordingly, the drummer will need more bass in his monitor than the rest of the band.
Panorama
The panorama knob controls the positioning of the signal in the FOH in terms of left and right. If the band has two guitarists who are positioned left and right adjust the panorama accordingly.
Channel fader
Finally, the fader is used to adjust the level of the channel’s signal in the main mix. Group faders are a link between a single-channel fader and the master faders. They let you group desired channels together making it possible to control the volume of the whole drum kit or all backing vocals at once with just one fader. The same is possible with group AUXs.

What is our main goal?
A balanced mix is our goal when mixing. A well-balanced mix ensures that each instrument and vocal has its own space in the frequency spectrum so that they are heard clearly and as loud as necessary.
We are trying to achieve a polished sound that truly represents the band’s distinctive sound. Try spending some time experimenting with different settings and effects to see what works best for you.
Conclusion
Mixing a live band is a multitasking challenge and includes technical knowledge and creativity. You have to be able to adapt to various natures of the venues you play and scenarios that can happen with equipment. It’s not the same as mixing a rock band and a jazz band. Different rock bands play different styles of rock, so it’s all about adopting. It takes time to learn how to make a decent mix so be prepared to learn all you can about sound engineering to an extent that will be enough for your needs.
I hope this post will help you when it comes to mixing your band, or any other band for that matter. Stay organized and be prepared a little better than before. Even one new thing that you may have learned here will make your gig easier than before.
Are you ready to mix your band?