The Ultimate Guide: How to Label Your Gear for Gigs
Introduction
Are you a musician trying to organize things so your gigs run smoothly and professionally? Labeling gear for gigs is crucial. Preparing for concerts whether you’re part of a band or a solo act is crucial. Taking everything you need, extra cables, and backup gear, and learning how to play and sing all your songs is a must. But how many times have you wished you had some gear labeled so you didn’t end up messing things up?
In this ultimate guide, we will show you how to properly label your gear for gigs, so that the next time you play a gig, everything is organized, easily accessible, and hard to misplace.
Many benefits come with labeling your musical instrument gear. It helps things stay organized, saving valuable time during setup and teardown. Labeling also makes your gear easily identifiable if misplaced or in case of theft. Just imagine the hustle when you play gigs with several bands sharing the same stage.
In this guide, we will show you, step-by-step, the process of labeling your band’s gear. We will talk about which labeling system to choose, and the right materials to use. From cables, cases, stands
Don’t let unlabeled cables, cases, or stands to slow you down and make your band frustrated the next time you go gigging. Relax, we got you covered.
- Introduction
- Benefits of Labeling Your Musical Instruments Gear for Gigs
- Types of Labels for Musical Instruments Gear
- Essential Information to Include on Your Labels
- Tips for Creating Professional-Looking Labels
- Label placement
- Common Mistakes to Avoid When Labeling Your Gear
- DIY Labeling vs. Professional Labeling Services
- Where to Purchase Labels for Musical Instruments Gear
- Conclusion
Benefits of Labeling Your Musical Instruments Gear for Gigs

Labeling your band’s gear is about more than just organized equipment and its aesthetics. Well-labeled gear will streamline your setup before and teardown after your gigs.
When our musical instrument gear isn’t clearly labeled, many things can go wrong, from accidental swapping between bands to your band members not being able to find the right microphone to mic the guitar amp.
Here are the key benefits of having properly labeled musical equipment.
1. Time saving
Time spent searching for specific musical gear like cables or microphones can be reduced with labeled gear. This will give you a more streamlined setup and teardown so you can be relaxed and more focused on your performance.
2. Band communication
With clearly labeled gear everyone that is involved in setups before gigs will have an easier time locating certain items. Band members, sound engineers, and members from other bands will have better communication so things run smoothly and easily before the show,
3. Easy to trace
If you have your gear labeled with information that clearly identifies the owner, you automatically have increased theft prevention. Not only do guitars get stolen. Some will take a mic cable if given the chance, but with labeling the chances are significantly less.
When playing concerts with other bands items such as cables or similar-looking guitar pedals can be easily misplaced. Labels easily prevent this from happening.
4. Professional look
Labeled musical gear gives a professional touch to the band’s image. It tells others that you care about your gear and your job as a musician.
5. Proper handling
Proper and easy-to-read labeling ensures that your gear is handled the right way. This is extremely important if you have pieces of equipment that are fragile or delicate to handle.
Types of Labels for Musical Instruments Gear
There are many options for labeling your music gear. Which type is best for you depends on factors such as the budget you have, the material of your gear, and how customized labeling you need. These are some of the most common options for labeling but you may still come up with something unique that isn’t on this list.
1. Cable tags
Cable management plays a major role in your setup and teardown processes, so labeling cables should be taken seriously. These tags are usually made to wrap around your cables and have small surfaces for writing down details.

2. Heat shrink tubing
This is the best method for permanent professional cable labeling. Short pieces of heat shrink tubes are put on the cable and shrunk with heat shrink guns which use high heat to make the tubes shrink firmly around cables.

Cables can be labeled with ordinary adhesive labels with printed or hand-written text. After that, transparent heat shrink tubes are placed over the labels.

The other method is to print directly onto heat shrink tubes which are usually white. For this method, portable heat shrink label printers are used. They use cartridges with a 1.5m shrink tube already prepared for printing.
Depending on when the tubing is put on there are two different approaches:
- Tubes are placed on pre-made cables: You will have to use heat shrink tubes which have a diameter bigger than the plugs to slip them on the actual cable. So if you have an XLR plug you will need to use a tube with a one-inch diameter. This is much wider than the cable so the heat shrink tube has to have a 3:1 or 4:1 shrinking ratio (depending on the thickness of the label with information) to shrink to the size of the cable.

- Tubes are placed BEFORE adding plugs: In this case, we don’t have to use very wide tubes. A half-inch diameter tube will easily slip on the cable and the shrink ratio should be 2:1.
3. Adhesive labels
Adhesive labels are a good labeling type for surfaces that are found on cases and any device like an amp, pedals, stands, and lighting gear. They are versatile and come in various sizes, shapes, and colors. Adhesive labels are easy to apply and are cost-friendly. You can print on them at home to make your gear look more professional. Look for adhesive labels that are weather-resistant and hard to peel off.

This type of labeling can also be used for cables but there are better solutions.
Before putting adhesive labels on any gear be sure that the surfaces are clean and free of any dirt. Place them centered and aligned with the area they are in. Make sure the area will not be close to any moving parts such as knobs or buttons.
4. Luggage tags
For equipment that is not suitable for adhesive labels using luggage tags is a better option. A good example is a bag for stands.

5. Engraved plates
This labeling type is best for worthy equipment that is frequently handled like racks, instruments, and amplifiers. They are made of metal or plastic and have engraved information making it a permanent solution.

Essential Information to Include on Your Labels
It is essential to include information that is specific to each piece of musical instrument gear that is being labeled. This information will help to quickly identify gear that is needed at the given moment.
These types of information are just a guideline. While some gear needs information like your name and contact information, other less important doesn’t.
1. Item description
This is important when it comes to cases and bags where we need to know what’s inside. This is the case when there are similar-looking bags or when you use a certain mic stand for sax only. Cables will need information like length, purpose, and place of use.
2. Contact information
This information can include:
- Your band’s name
- Phone number
- Address
This information is important if any of your gear ever gets lost, misplaced, or stolen.
3. Special instructions
Some items can need additional instructions such as “this side up” or “fragile”.
Complex gear needs setup instructions. This can be a specific order of guitar pedals, lighting gear positioning, or settings for an amp.
Tips for Creating Professional-Looking Labels
1. Use high-quality materials
If you gig frequently invest in high-quality materials for your labels. They should be resistant to high temperatures, rain, and everyday handling.
2. Color coding
Consider implementing a color coding system for your gear. This can be a big help when handling different types of music gear.

3. Design
The main use of labeling your band’s gear is functionality, but with some additional tips, you can make your labeling system look professional. Always use fonts that are easy to read from a distance and with low light.
Maintain a consistent design with all your labels. Consistency is what creates brands.
4. Label kit
Place some spare labels, colored markers, tape, and string in a small plastic case. This will help you when you need to label something on the go if needed.
Label placement
Instruments
How to label instruments? Use tags or labels that won’t damage the surface of your favorite instruments. Avoid using adhesive labels for i.e. guitar amplifiers. When removed they will leave a sticky surface wish is hard to clean and may damage your amp’s surface.
Cases and bags
These guys get a lot of movement and travel in hot vans and cars for hours and hours. Eventually, their label can either fall off or get stuck in some doorway and get torn off without you knowing. If you are using multiple similar cases and bags, place an extra label somewhere inside like the inside of a case’s lid. If the outer label gets lost you still have one inside so you immediately know what’s inside.
Cables
For cables use cable wraps to label each end of your cables. Same as for cases and bags, if a label on one end gets damaged or lost, you still have one left to help you with the cable’s information.
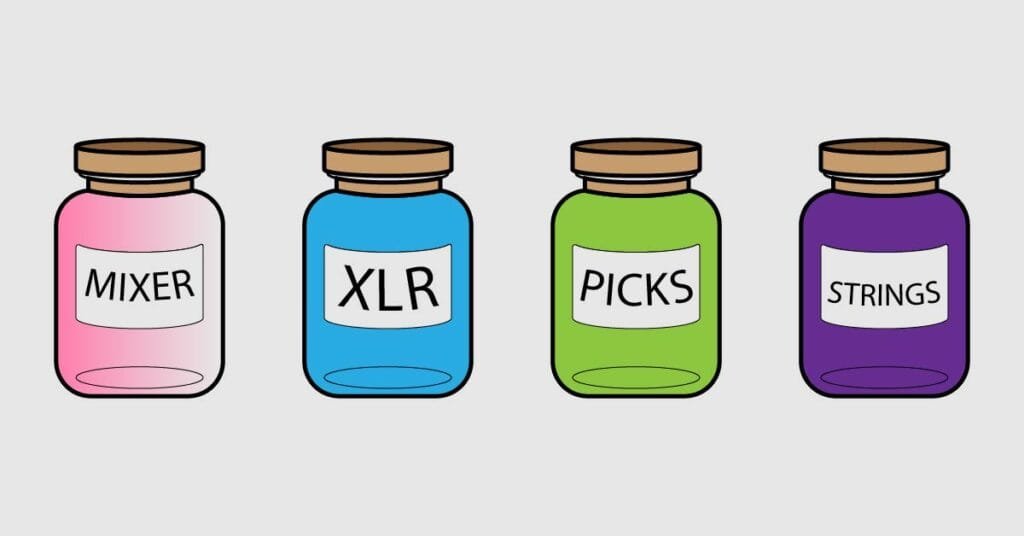
Small accessories
Small accessories like picks or audio adapters are too small to be labeled. The best way to keep them labeled is to use a labeled container for them.

Common Mistakes to Avoid When Labeling Your Gear
1. Using low-quality labels
Using cheaper labels may save you some money initially but will result in a short lifetime by getting peeled off or faded much earlier than quality labels.
2. Inconsistent labeling
Ensuring a consistent labeling system on all of your band’s musical gear is the way to go. Consistent fonts, colors, and materials will make it easier to work with your gear.
3. Overcrowding labels
Too much information on a label will make it hard to read what’s on it. Instead, include only essential information.
4. Neglecting maintenance
Check your labels for wear and tear once in a while, especially before summer gigs season or before cruise gigs. If you change any of your contact information, it should be changed on all labels that have that information.
DIY Labeling vs. Professional Labeling Services
Both options have their pros and cons.
DIY labeling
- Pros: Less expensive, allows you to be creative, ability to create only a few labels
- Cons: May look non-professional, and time-consuming if you’re not into graphics
Professional labeling services
Pros: Professional look and finish, time-saving, high-quality materials
Cons: Higher cost, not customizable after ordering
Where to Purchase Labels for Musical Instruments Gear
- Online webshops
- Local printing shops
- Online printing services
Conclusion
Properly labeling your musical instrument gear is a simple task that has a big impact on your gigging experience. It ensures that everything before and after the gig runs smoothly and fast. Not only does labeling reduce stress for the band but shows how organized and professional your band is. And if any piece gets misplaced or worse, stolen or lost, tracing it is far easier than without labeling.
Invest some of your time in labeling, just like you do in band rehearsals or playing those indefinite arpeggios at home. Every little piece of preparation counts. By following these guidelines for labeling your band’s gear you can make your setups and teardowns fast, organized, and stress-free. Prepare yourself for easy gigs!
How do you label your instruments? Feel free to leave a comment.